
このブログサイトを
- さくらのVPS
- Ubuntu 20.04 LTS
- nginx 1.18.0
- PHP 7.4.3
- MySQL 8.0.27
- WordPress 5.8.1
で構築してみたので手順をメモ書きします。
読み進めてみて難しそうと思ったらVPSじゃなくて、さくらのレンタルサーバーでWordPressが簡単に使えるサービスがあるのでそっち使っても良いかもです。

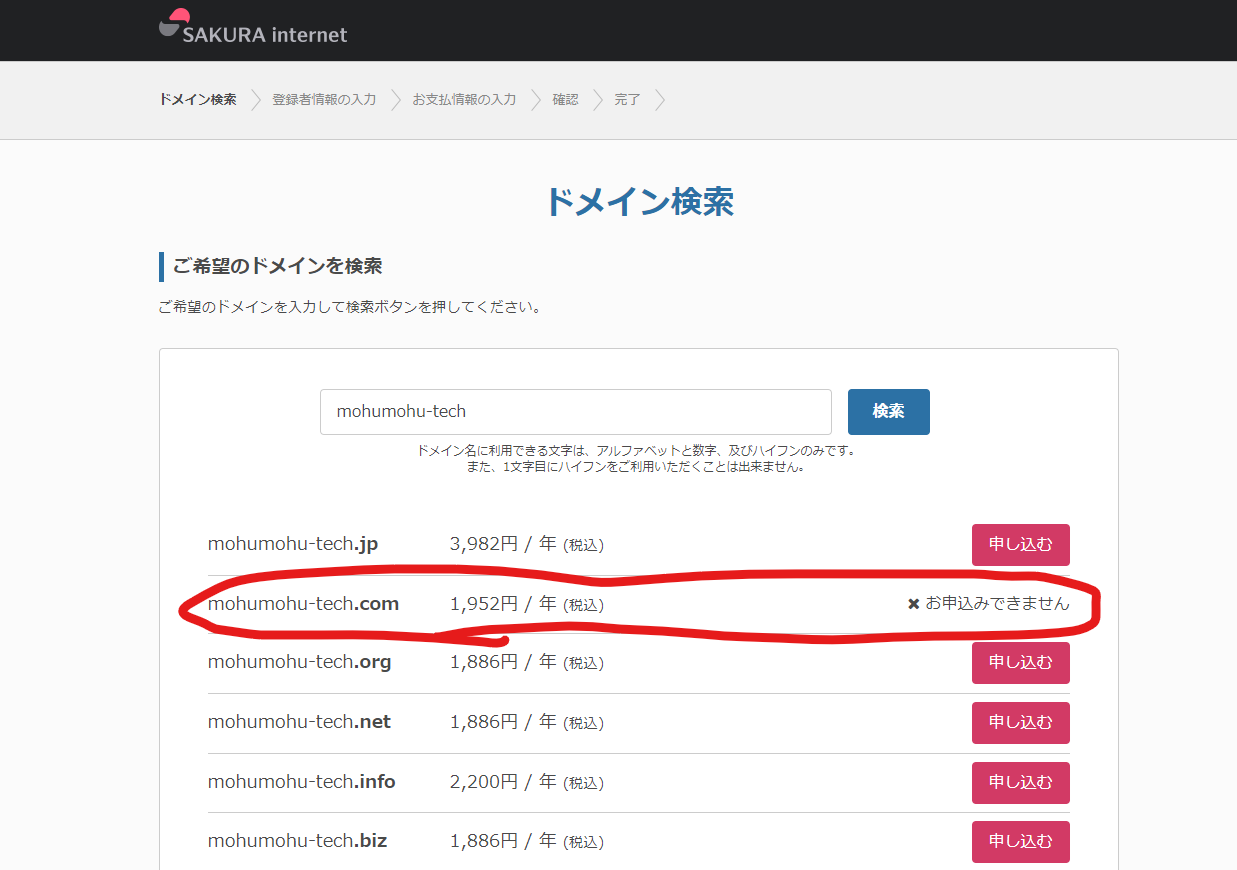
使用しているさくらのVPSプラン (2021/11/23時点)


使用しているドメイン (2021/11/23時点)
Ubuntuをインストール
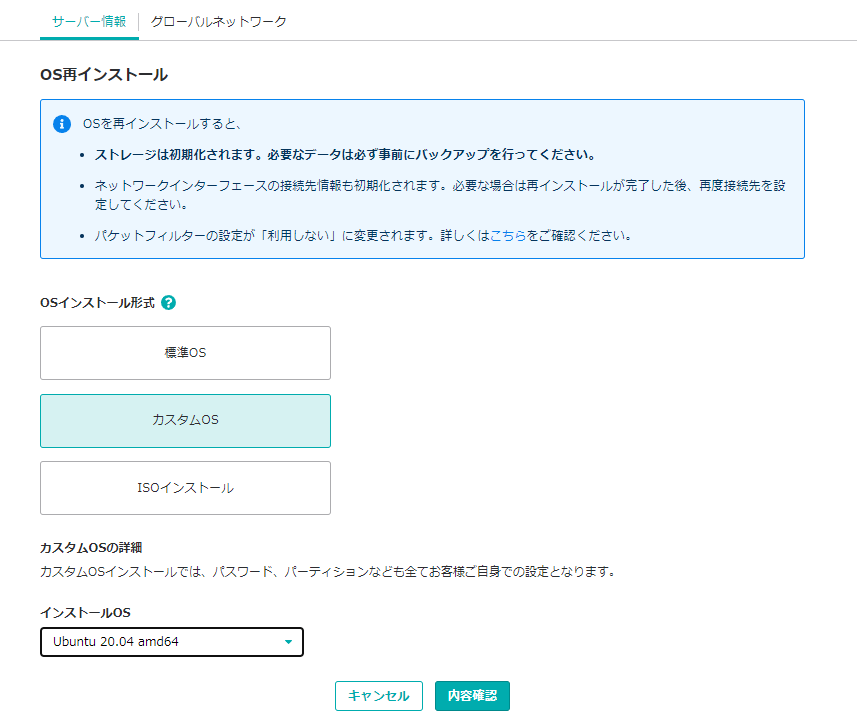
サーバー管理画面の「OSインストール」または「OS再インストール」をクリックして、
OSインストール形式をカスタムOS
インストールOSをUbuntu20.04 amd64
に設定してインストールを開始する。
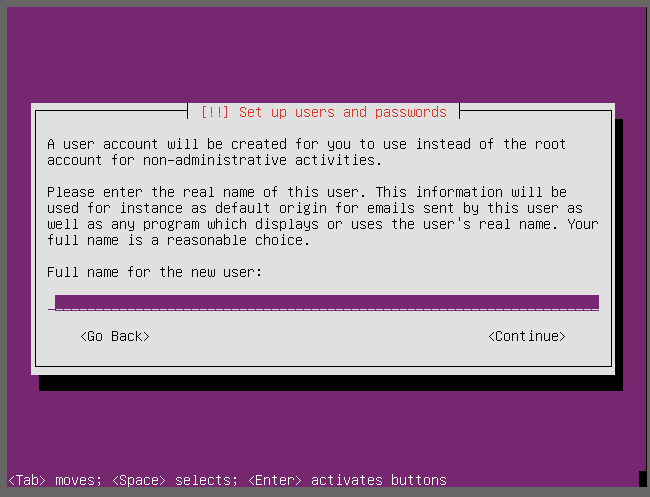
ページの右下にある「VNCコンソールを起動」をクリックしてUbuntuの初期設定をする。
自分の名前(フルネーム)を入力する。
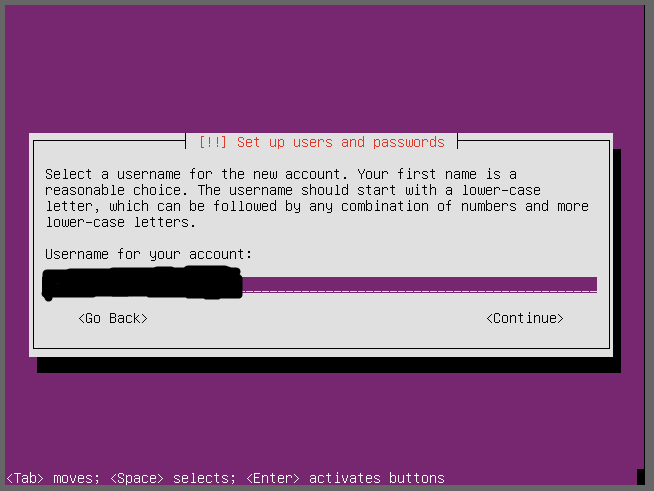
ログイン時に入力するユーザー名を入力する。
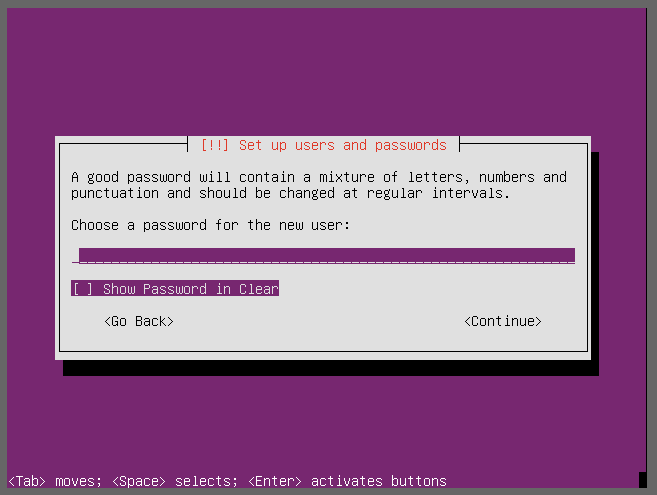
ログインするユーザーのパスワードを入力する。
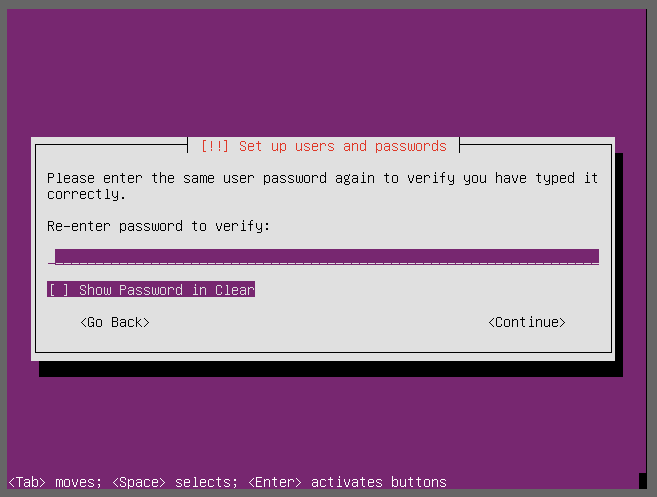
パスワードを再度入力する。
ディスクパーテーションの設定をする。
use entire disk : ディスク全体を使用してUbuntuをインストールします。これにより、Ubuntuのパーティションも自動的に作成されます。
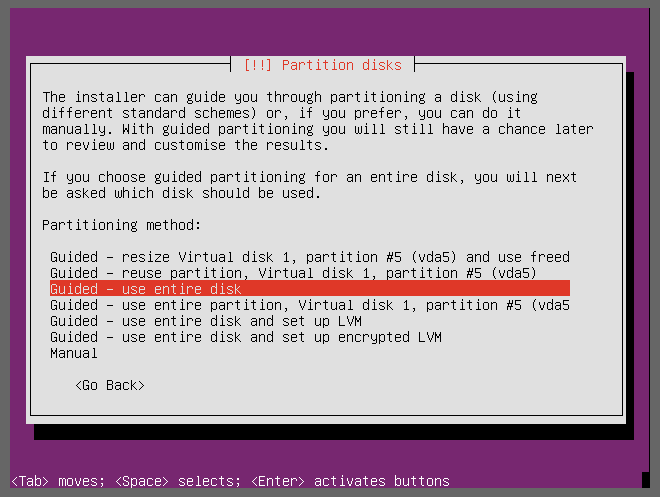
パーテーションを作成するディスクを選択する。
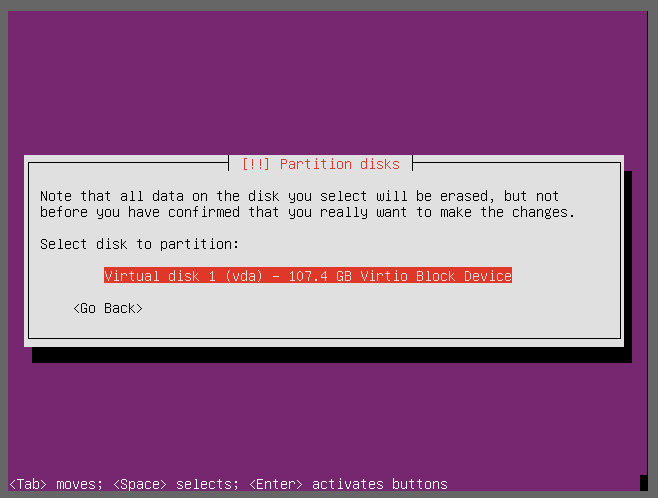
「Yes」を選択する。

Ubuntuのインストールが開始されるので待つ。

インストールが完了したら「Continue」を選択する。
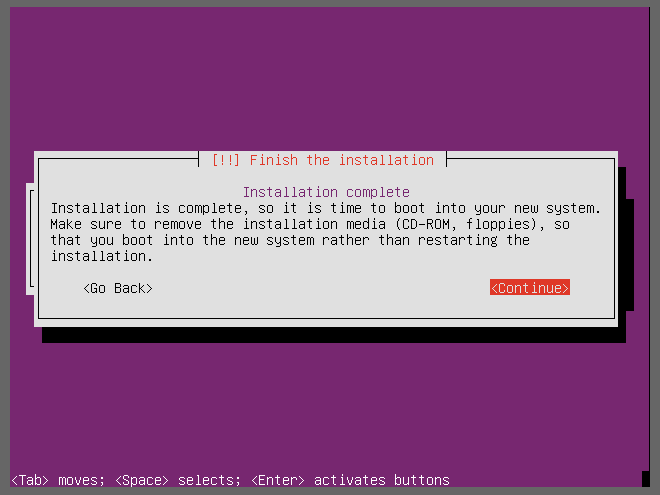
「Continue」を押すとシャットダウンされVNC接続が切れるのでウィンドウを閉じる。
Ubuntuのインストールが完了しているので、サーバー管理画面の「電源操作」の「起動する」をクリックしてサーバーを起動させる。
サーバーにアクセス
Windowsのコマンドプロンプトを起動して以下のコマンドを入力する。
ssh 【USERNAME】@【サーバーのIPアドレス】初回の接続の時に、以下のメッセージが表示されるのでyesを入力する。
The authenticity of host '【サーバーのIPアドレス】' can't be established.
ECDSA key fingerprint is SHA256:xxxxxxxxxxxxxxxxxxxxxxxxxxxxxxxxxxxxxxxxxxxxxxxx.
Are you sure you want to continue connecting (yes/no/[fingerprint])?
パスワードを入力してログインをする。
以下のコマンドを入力してパッケージを更新する。
$sudo apt update
$sudo apt upgrade
ファイアーウォール(ufw)の設定
ファイアーウォールは非アクティブになっているのでアクティブにする。
$sudo ufw enableCommand may disrupt existing ssh connections. Proceed with operation (y|n)? と出るので「y」を入力する。
ファイアーウォールが有効になっているか確認する。
$sudo ufw statusStatus:activeSSH接続用にポートを開放するのですが、’OpenSSH (22)’はめちゃくちゃ不正アクセス攻撃されるので他のポート番号に設定する。
コンフィグファイルを開き、ポート番号とルートログインを無効に設定する。
$sudo nano /etc/ssh/sshd_configport 【22以外の任意のポート番号】
PermitRootLogin no$sudo systemctl restart sshdコンフィグファイルに書いたポート番号をファイアーウォールに追加する。
$sudo ufw allow 【ポート番号】/tcp
$sudo ufw limit 【ポート番号】/tcp
$sudo systemctl restart ufw
$sudo ufw status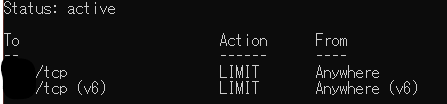
以上の画像が表示されたら無事追加されてます。
sudo ufw limit 【ポート番号】/tcp の limitは、「30秒間の間に6回以上接続を試みた IP アドレスを許可しない」コマンドです。
ufw will deny connections if an IP address has attempted to initiate 6 or more connections in the last 30seconds.
http://manpages.ubuntu.com/manpages/precise/en/man8/ufw.8.html
新しいコマンドプロンプトを起動して、設定したポート番号でログインをしてみる。
ssh -p 【ポート番号】 【USERNAME】@【サーバーのIPアドレス】nginxをインストール
nginxパッケージをインストールして、nginxが使用する80,443ポートを開放する。
$sudo apt install nginx
$sudo ufw allow 'Nginx HTTP'
$sudo ufw allow 'Nginx HTTPS'
$sudo ufw status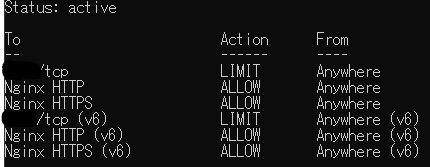
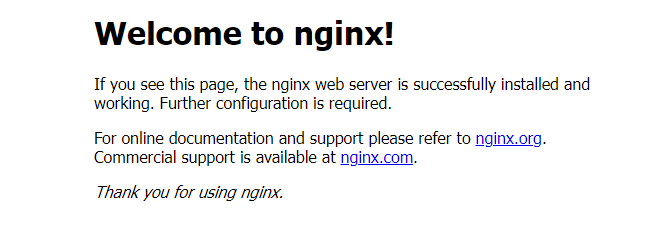
ブラウザから「http://【サーバーのIPアドレス】」を入力するとnginxのDEMOページが表示される。
MySQLをインストール
MySQLパッケージをインストールして初期設定を行う。
$sudo apt install mysql-server mysql-client
$sudo mysql_secure_installation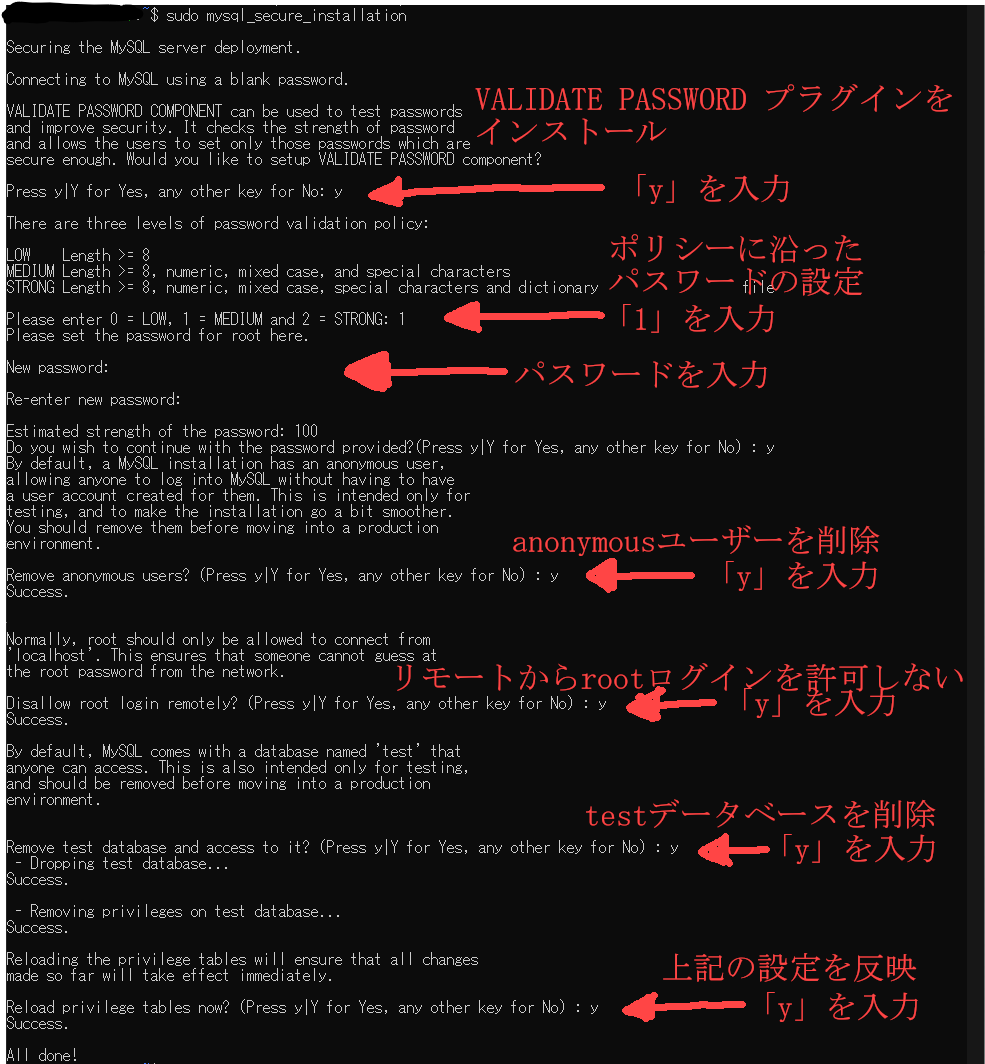
VALIDATE PASSWORDプラグインのパスワードポリシーは3つのレベルに分けられている。
今回はMIDEUMを選択した。
| レベル | 長さ | 文字種類 | 単語一致 |
| LOW | 8文字以上 | ||
| MIDEUM | 8文字以上 | アルファベット大文字、アルファベット小文字、数字、記号の4種を含める | |
| HIGH | 8文字以上 | アルファベット大文字、アルファベット小文字、数字、記号の4種を含める | 4文字以上の部分文字列が辞書ファイル内の単語と一致してはならない |
MySQLにWordpress用のデータベースとユーザーを作成する。
$sudo mysql -u root -p> CREATE DATABASE 【データベース名】;
> CREATE USER '【ユーザー名】'@'localhost' IDENTIFIED BY '【パスワード】';
> GRANT ALL ON 【データベース名】.* TO '【ユーザー名】'@'localhost' WITH GRANT OPTION;
> FLUSH PRIVILEGES;
> EXIT;PHPをインストール
WordPressに必要なPHP本体とモジュールをインストールする。
WordPressに必要なPHPモジュールはここで確認できる。
https://make.wordpress.org/hosting/handbook/server-environment/
$sudo apt install php7.4 php7.4-fpm php7.4-curl php7.4-dom php7.4-mbstring php7.4-mysql php7.4-xml php7.4-zip
$sudo apt install imagemagick php7.4-imagick
$sudo apt update
$sudo apt upgrade
WordPressを使うため、php.iniを編集する。
$sudo nano /etc/php/7.4/fpm/php.iniWordPressテーマのアップロードや画像アップロードをするために、php.iniを編集する。
以下の項目を見つけて値を変更する。
編集した後は変更を反映するためにfpmモジュールを再起動させる。
memory_limit = 256M
upload_max_filesize = 64M
max_file_uploads = 32
post_max_size = 64M
$sudo systemctl restart php7.4-fpmWordPressをインストール
テンポラリフォルダに移動して、Wordpress本体の圧縮ファイルをダウンロードする。
解凍したWordpressフォルダを「/var/www/html」へ移動してフォルダ名を変える。
$cd /tmp
$wget https://wordpress.org/latest.tar.gz
$tar -xvzf latest.tar.gz
$sudo mv wordpress /var/www/html/
$cd /var/www/html
$sudo mv wordpress 【ブログ名】
www-dataにwordpressディレクトリへの権限を与える。
www-dataの説明
https://qiita.com/micron/items/56cdc72112f2f9b09fa2
$sudo chown -R www-data:www-data /var/www/html/【ブログ名】/
$sudo chmod -R 755 /var/www/html/【ブログ名】/
nginxの設定フォルダにWordpressの設定ファイルを追加する。
nginxのデフォルト設定ファイルをコピーしてブログ用に編集する。
$sudo cp /etc/nginx/sites-available/default /etc/nginx/sites-available/【ブログ名】.conf
$sudo nano /etc/nginx/sites-available/【ブログ名】.conf
コピーした設定ファイルを以下のように変更していく。
server {
  listen 80;
  listen [::]:80;

    root /var/www/html/【ブログ名】;

    index index.php index.html index.htm;

    server_name 【ドメイン名】 www.【ドメイン名】;

  client_max_body_size 100M;
    autoindex off;

    location / {
            # First attempt to serve request as file, then
            # as directory, then fall back to displaying a 404.
            try_files $uri $uri/ /index.php$args;
    }

    # pass PHP scripts to FastCGI server
    #
    location ~ \\.php$ {
            include snippets/fastcgi-php.conf;

            # With php-fpm (or other unix sockets):
            fastcgi_pass unix:/var/run/php/php7.4-fpm.sock;
            # With php-cgi (or other tcp sockets):
            fastcgi_param SCRIPT_FILENAME $document_root$fastcgi_script_name;

            include fastcgi_params;
    }
}
編集し終えたら設定ファイルのシンボリックリンクをsites-enabledに貼る。
設定ファイルのエラーチェックをしてnginxを再起動する。
$sudo ln -s /etc/nginx/sites-available/【ブログ名】.conf /etc/nginx/sites-enabled/
$sudo nginx -t
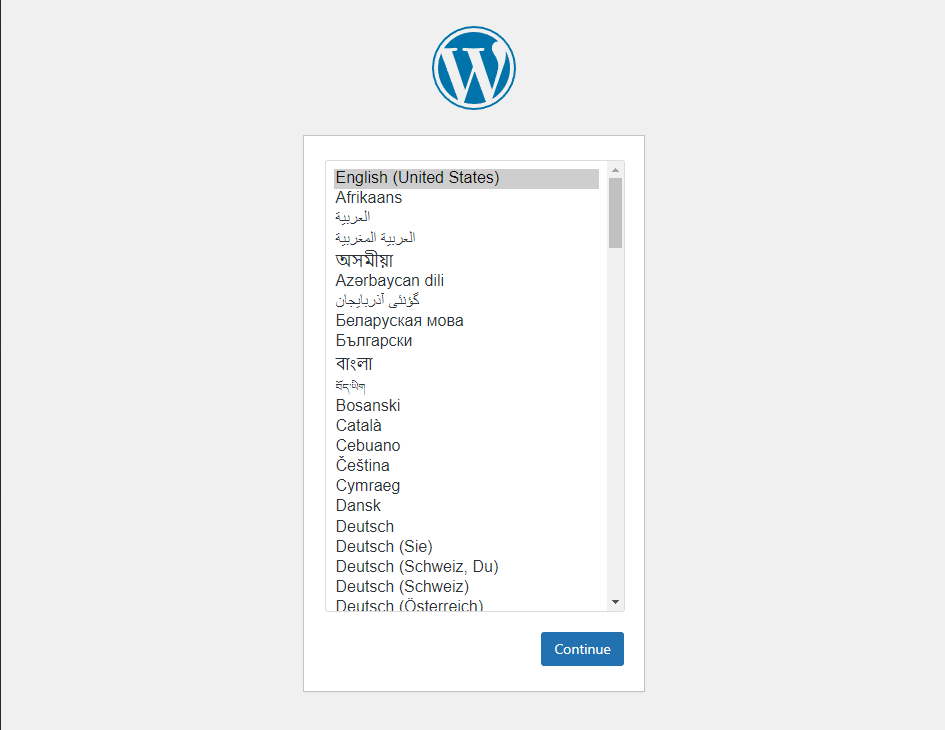
$sudo systemctl restart nginxこれで「http://【IPアドレス】or【ドメイン名】」にアクセスするとWordpressの初期画面が出てくる。
日本語を選んで「Continue」をクリックして「さぁ、始めましょう!」をクリックする。
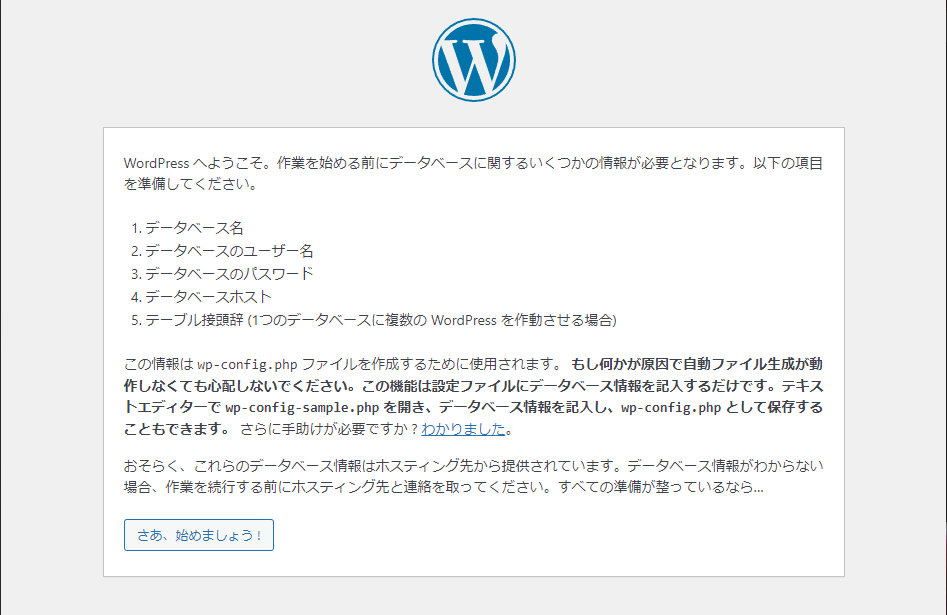
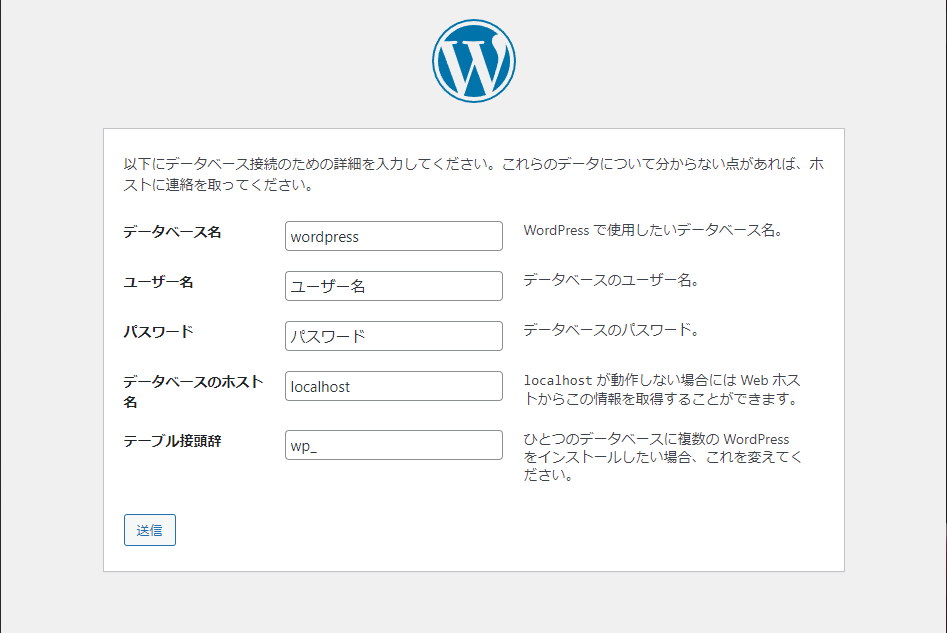
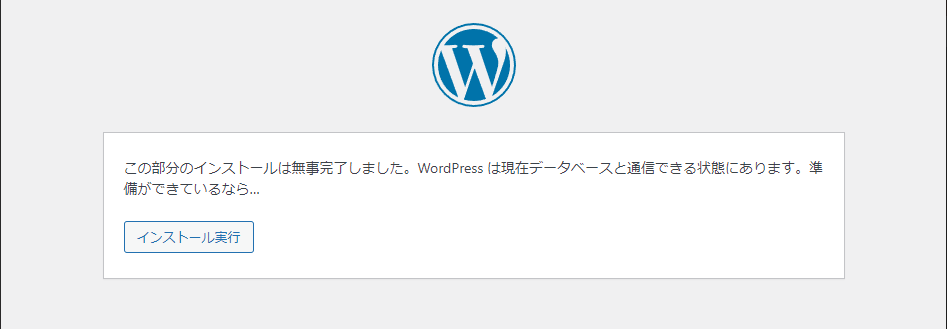
MySQLをインストールで設定したWordpressデータベースの情報を記入して、「インストール」を実行をクリックする。
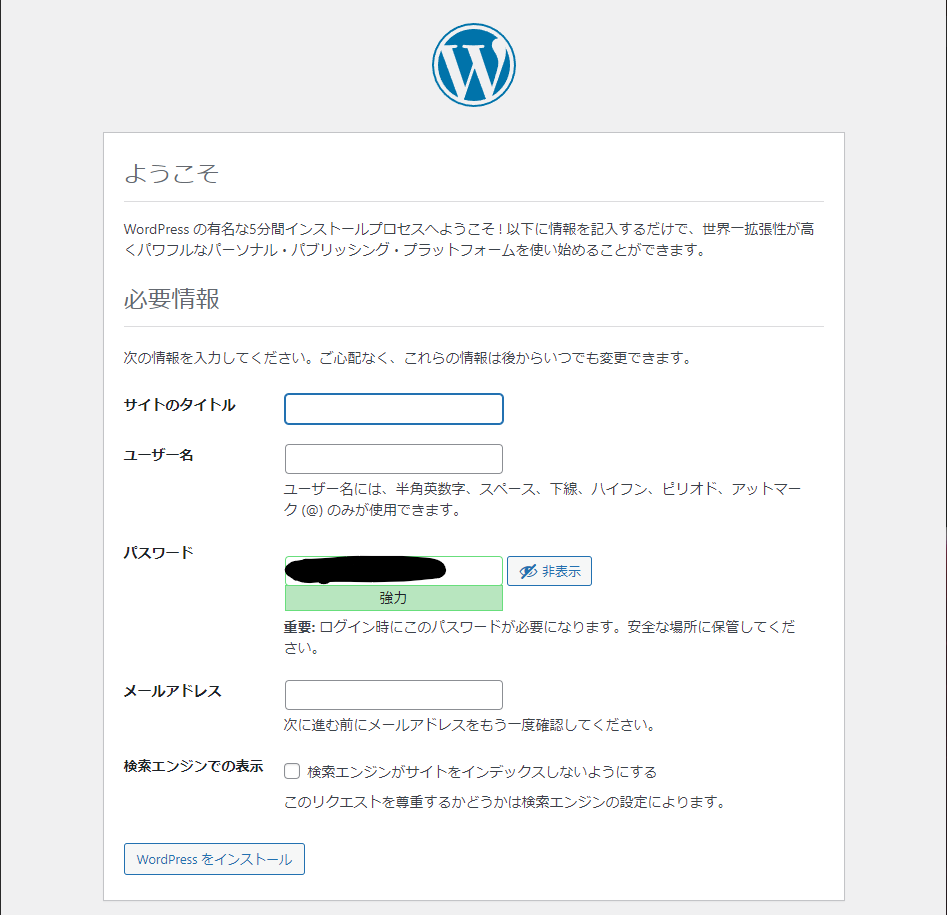
サイトのタイトルとアカウント情報を記入してログインをする。
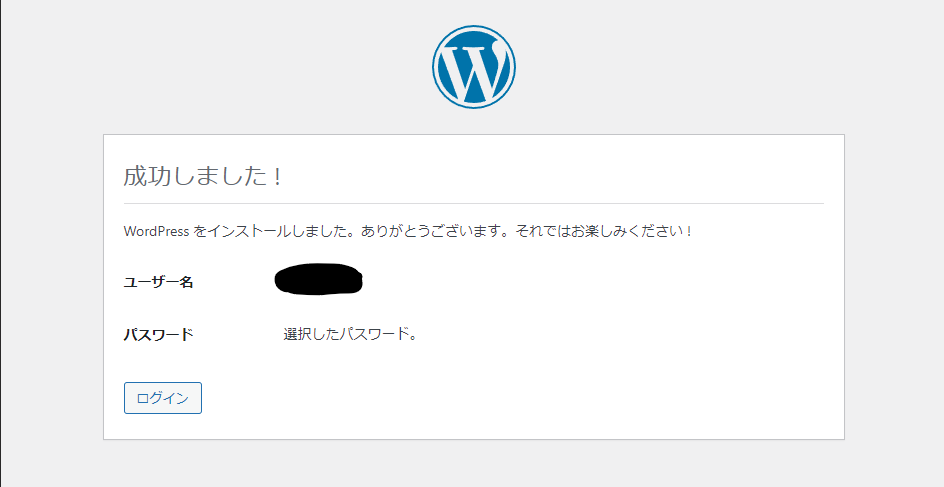
これでWordpressのインストールが完了してサイトのカスタマイズが可能になった。
Let’s EncryptでサイトをSSL化(HTTPS)
certbotを実行してLet’sEncryptで証明書を発行する。
$sudo apt install certbot python3-certbot-nginx
$sudo certbot --nginx -d 【ドメイン名】 -d www.【ドメイン名】
①証明書の有効期限切れが迫るとメールが届く宛先
Saving debug log to /var/log/letsencrypt/letsencrypt.log
Plugins selected: Authenticator nginx, Installer nginx
Enter email address (used for urgent renewal and security notices) (Enter 'c' to
cancel): メアド入力
②利用規約に同意
---
Please read the Terms of Service at
[https://letsencrypt.org/documents/LE-SA-v1.2-November-15-2017.pdf](https://letsencrypt.org/documents/LE-SA-v1.2-November-15-2017.pdf). You must
agree in order to register with the ACME server at
[https://acme-v02.api.letsencrypt.org/directory](https://acme-v02.api.letsencrypt.org/directory)
---
(A)gree/(C)ancel : A
③情報共有やニュース等々のメールはいらない
---
Would you be willing to share your email address with the Electronic Frontier
Foundation, a founding partner of the Let's Encrypt project and the non-profit
organization that develops Certbot? We'd like to send you email about our work
encrypting the web, EFF news, campaigns, and ways to support digital freedom.
---
(Y)es/(N)o: N
④http通信が来たらhttpsにリダイレクトする
- - - - - - - - - - - - - - - - - - - - - - - - - - - - - - - - - - - - - - - -
1: No redirect - Make no further changes to the webserver configuration.
2: Redirect - Make all requests redirect to secure HTTPS access. Choose this for
new sites, or if you're confident your site works on HTTPS. You can undo this
change by editing your web server's configuration.
- - - - - - - - - - - - - - - - - - - - - - - - - - - - - - - - - - - - - - - -
Select the appropriate number [1-2] then [enter] (press 'c' to cancel): 2
IMPORTANT NOTES:
- Congratulations! Your certificate and chain have been saved at:
/etc/letsencrypt/live/【ドメイン名】/fullchain.pem
Your key file has been saved at:
/etc/letsencrypt/live/【ドメイン名】/privkey.pem
Your cert will expire on 2022-02-12. To obtain a new or tweaked
version of this certificate in the future, simply run certbot again
with the "certonly" option. To non-interactively renew *all* of
your certificates, run "certbot renew"
- Your account credentials have been saved in your Certbot
configuration directory at /etc/letsencrypt. You should make a
secure backup of this folder now. This configuration directory will
also contain certificates and private keys obtained by Certbot so
making regular backups of this folder is ideal.
- If you like Certbot, please consider supporting our work by:
Donating to ISRG / Let's Encrypt: [https://letsencrypt.org/donate](https://letsencrypt.org/donate)
Donating to EFF: [https://eff.org/donate-le](https://eff.org/donate-le)—nginxオプションを使用したので sites-availabledのconfファイルがHTTPS対応している。
「http://<IPアドレス>or<ドメイン名>」でアクセスすると、httpsにリダイレクトされていることを確認する。
取得した証明書は90日間のみ有効でcertbotパッケージは証明書の期限が切れないように更新もしてくれる。
https://www.digitalocean.com/community/tutorials/how-to-secure-nginx-with-let-s-encrypt-on-ubuntu-20-04-ja
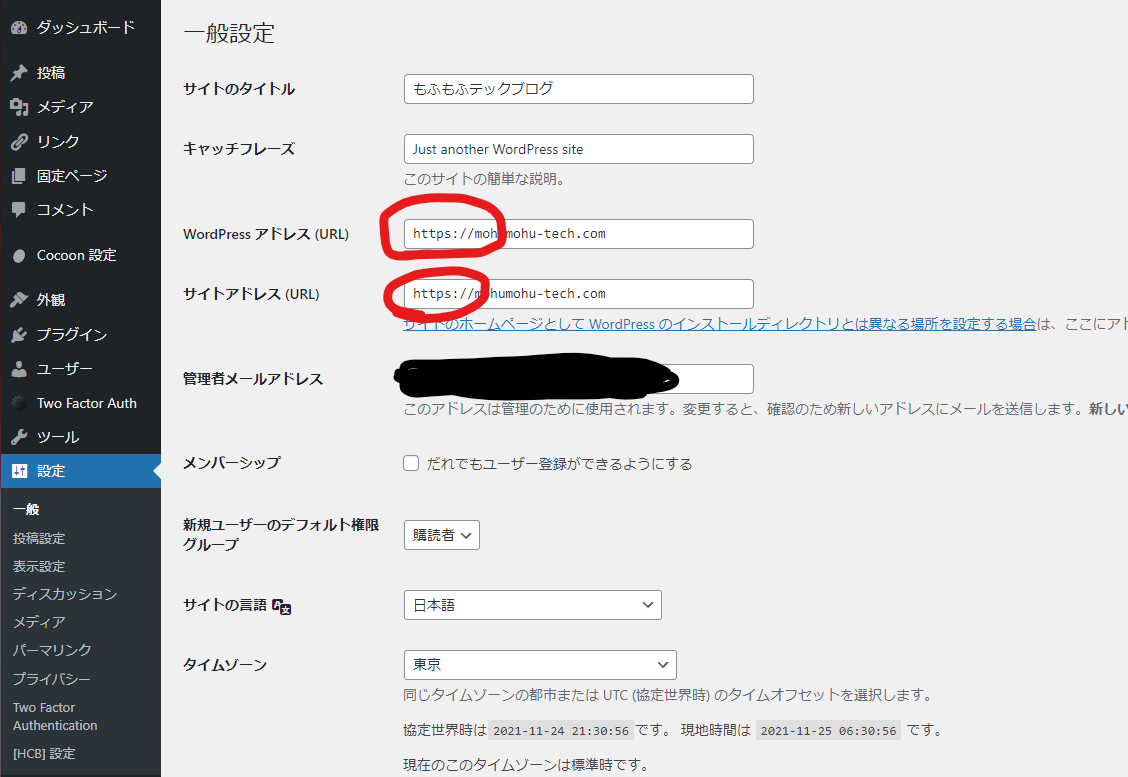
WordPressの管理画面のアドレスをhttpからhttpsに変更する。
WordPressにちょっとしたセキュリティ対策
最初から入っている「Akismet Anti-Spam」「Hello Dolly」を削除する。
- wp-config.phpを1つ上の階層に移動する
http://memories.zal.jp/WP/wordpress/archives/164
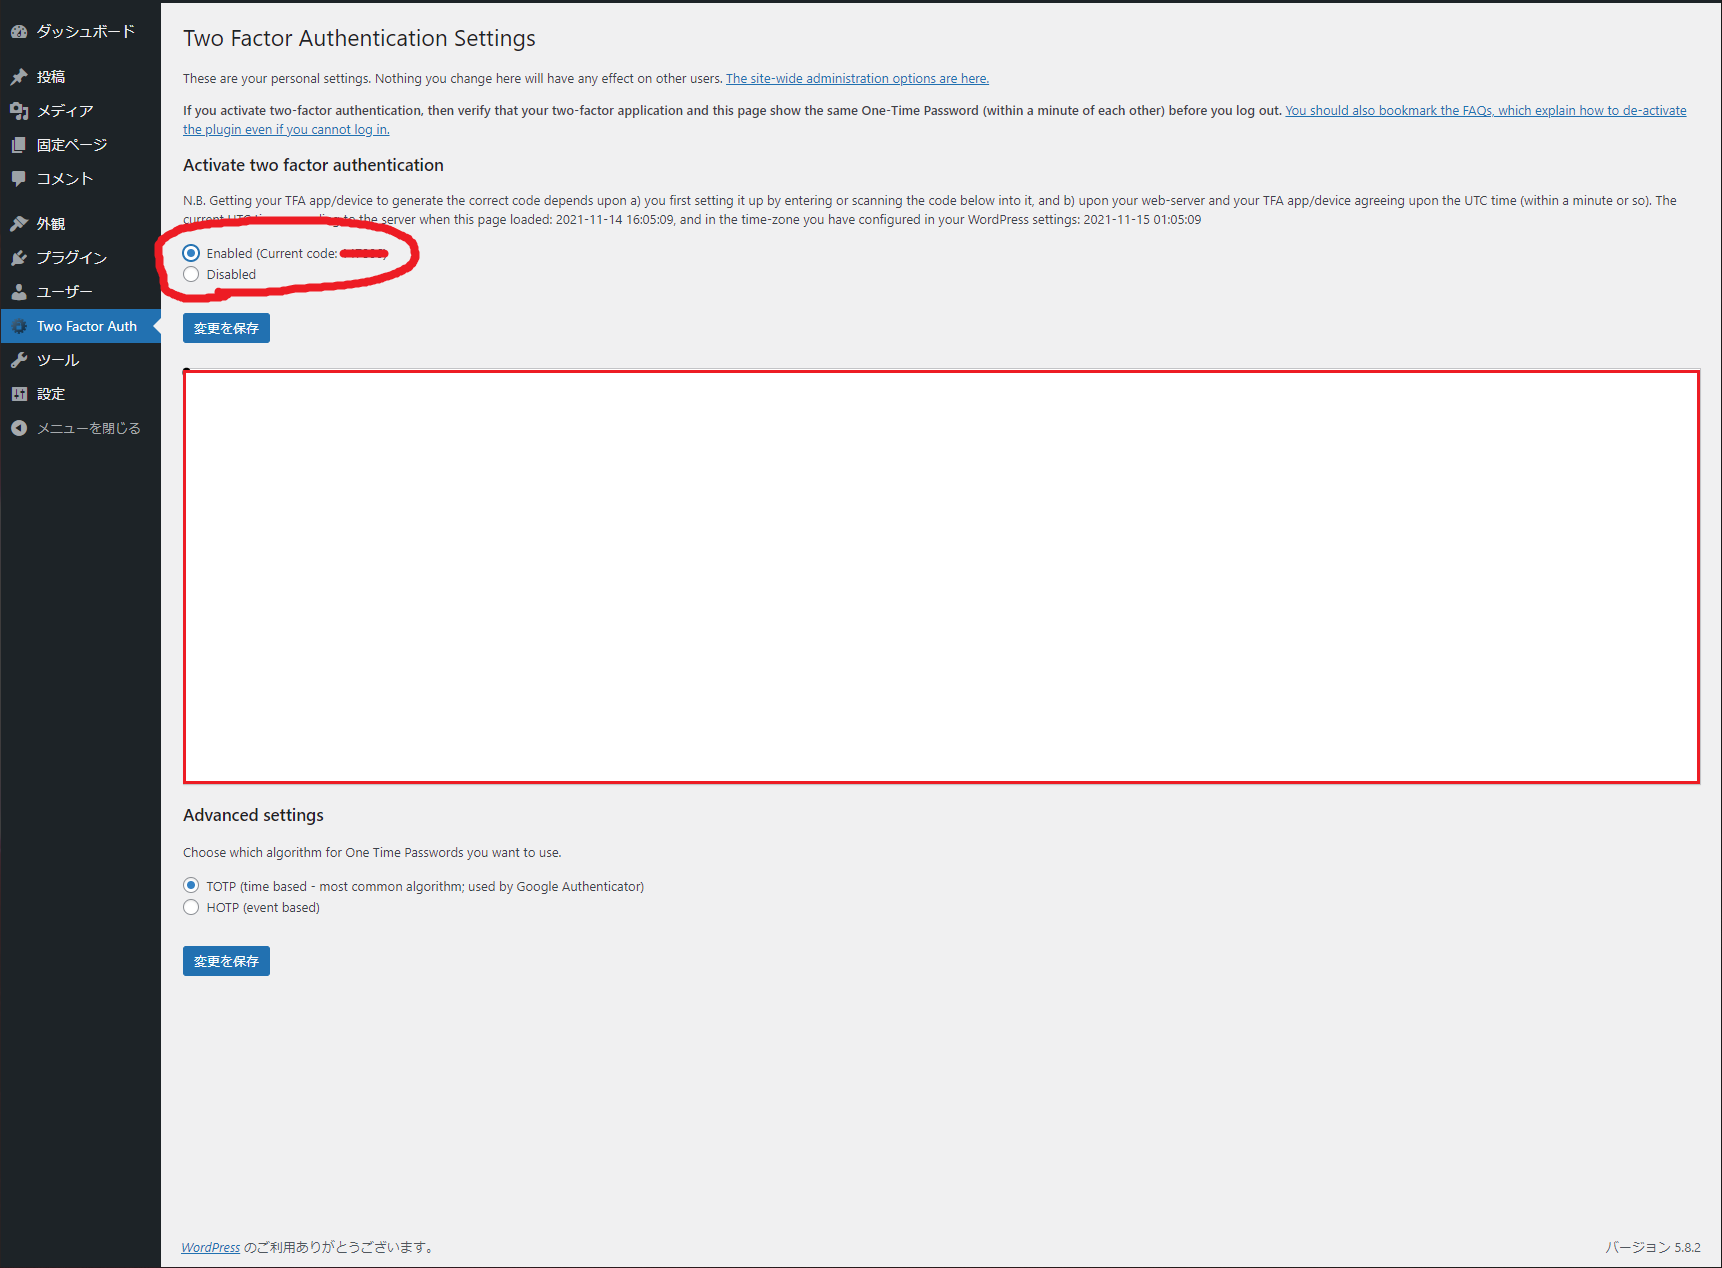
- Two Factor Authentication
Google Authenticatorを使用してログイン画面で2段階認証を行うプラグイン
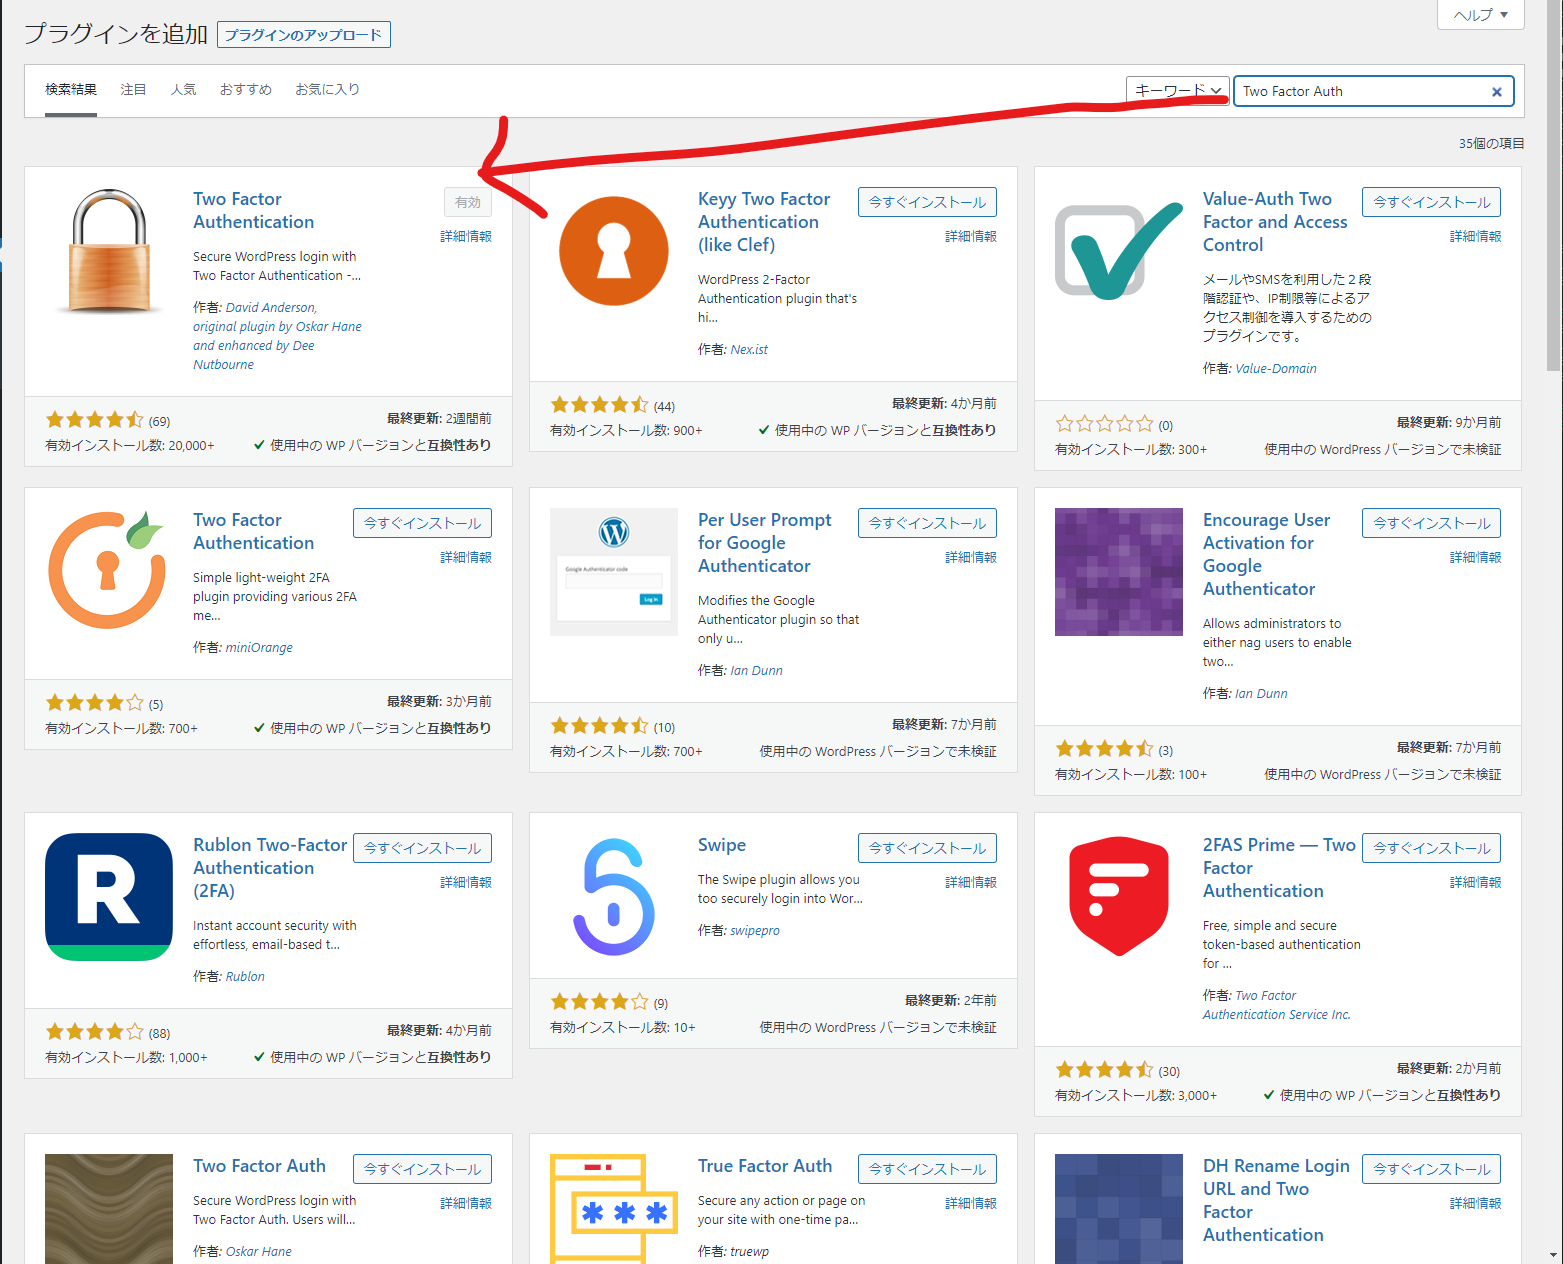
Two Factor Authenticationの管理画面でプラグインを有効にする。
- WP Cerber Security
不正ログイン対策プラグイン
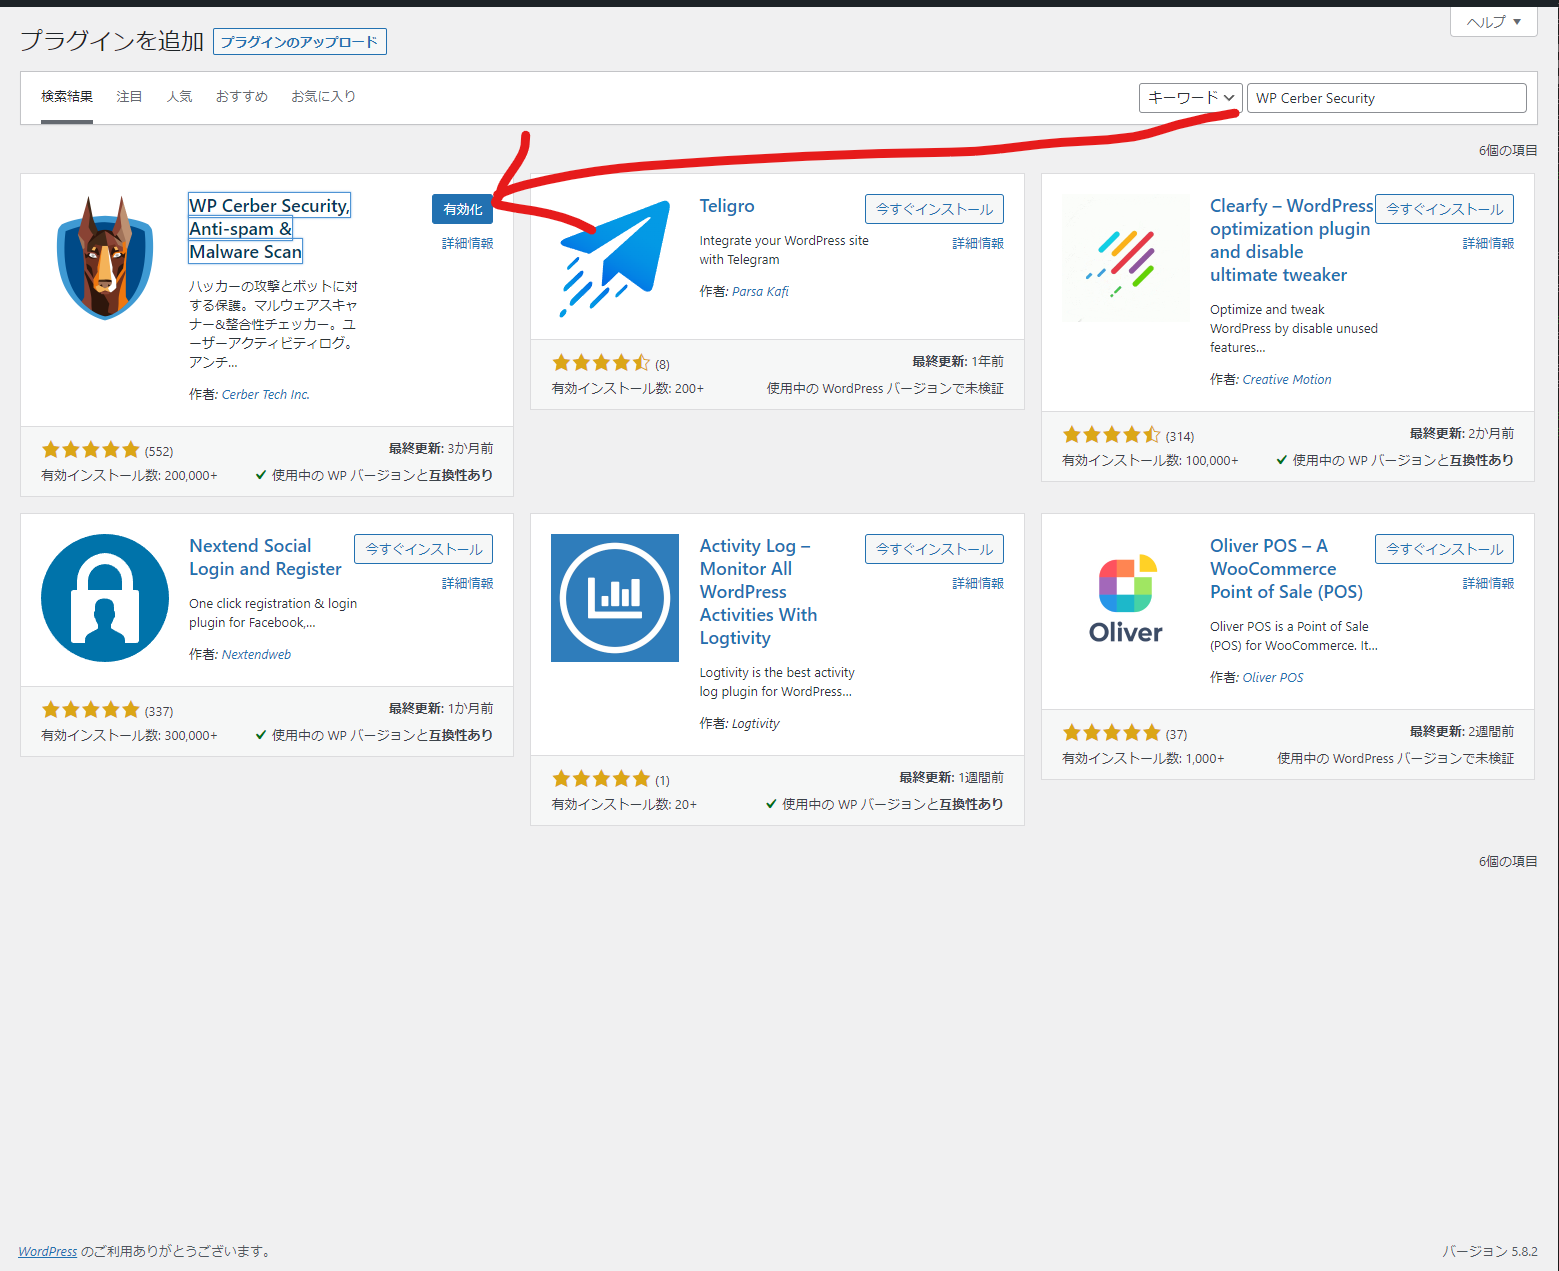
WP Cerber Securityプラグインのドキュメント
https://wpcerber.com/getting-started/
スタートガイドに沿って設定していく。
おわり
以上、Wordpress環境を構築するメモでした。
Dockerで構築したほうがスマートらしいのでキッカケがあれば実践していく。
トラブルシュート
- nginxが起動しない
$ sudo systemctl restart nginx
Job for nginx.service failed because the control process exited with error code.
See "systemctl status nginx.service" and "journalctl -xe" for details.
$ sudo systemctl status nginx.service
- nginx.service - A high performance web server and a reverse proxy server
Loaded: loaded (/lib/systemd/system/nginx.service; enabled; vendor preset: enabled)
Active: failed (Result: exit-code) since Mon 2021-11-15 03:05:32 JST; 1min 11s ago
Docs: man:nginx(8)
Process: 27119 ExecStartPre=/usr/sbin/nginx -t -q -g daemon on; master_process on; (code=exited, status=0/SUCCESS)
Process: 27130 ExecStart=/usr/sbin/nginx -g daemon on; master_process on; (code=exited, status=1/FAILURE)
Nov 15 03:05:31 ik1-432-48367 nginx[27130]: nginx: [emerg] bind() to [::]:443 failed (98: Address already in use)
Nov 15 03:05:31 ik1-432-48367 nginx[27130]: nginx: [emerg] bind() to 0.0.0.0:443 failed (98: Address already in use)
Nov 15 03:05:32 ik1-432-48367 nginx[27130]: nginx: [emerg] bind() to 0.0.0.0:80 failed (98: Address already in use)
Nov 15 03:05:32 ik1-432-48367 nginx[27130]: nginx: [emerg] bind() to [::]:80 failed (98: Address already in use)
Nov 15 03:05:32 ik1-432-48367 nginx[27130]: nginx: [emerg] bind() to [::]:443 failed (98: Address already in use)
Nov 15 03:05:32 ik1-432-48367 nginx[27130]: nginx: [emerg] bind() to 0.0.0.0:443 failed (98: Address already in use)
Nov 15 03:05:32 ik1-432-48367 nginx[27130]: nginx: [emerg] still could not bind()
Nov 15 03:05:32 ik1-432-48367 systemd[1]: nginx.service: Control process exited, code=exited, status=1/FAILURE
Nov 15 03:05:32 ik1-432-48367 systemd[1]: nginx.service: Failed with result 'exit-code'.
Nov 15 03:05:32 ik1-432-48367 systemd[1]: Failed to start A high performance web server and a reverse proxy server.80番と443番のポートがすでに使われていると書かれているので何のアプリケーションが使用しているか調べてみる。
$ sudo lsof -i:80
COMMAND PID     USER   FD   TYPE DEVICE SIZE/OFF NODE NAME
apache2 463     root    4u  IPv6  17363      0t0  TCP *:http (LISTEN)
apache2 501 www-data    4u  IPv6  17363      0t0  TCP *:http (LISTEN)
apache2 502 www-data    4u  IPv6  17363      0t0  TCP *:http (LISTEN)
apache2 503 www-data    4u  IPv6  17363      0t0  TCP *:http (LISTEN)
apache2 652 www-data    4u  IPv6  17363      0t0  TCP *:http (LISTEN)
apache2 653 www-data    4u  IPv6  17363      0t0  TCP *:http (LISTEN)
apache2 654 www-data    4u  IPv6  17363      0t0  TCP *:http (LISTEN)
apache2 655 www-data    4u  IPv6  17363      0t0  TCP *:http (LISTEN)
apache2 656 www-data    4u  IPv6  17363      0t0  TCP *:http (LISTEN)
apache2 657 www-data    4u  IPv6  17363      0t0  TCP *:http (LISTEN)
apache2 665 www-data    4u  IPv6  17363      0t0  TCP *:http (LISTEN)
apacheが確保していた。
今回のサイト構築ではapacheは使用していないのでapacheパッケージをアンインストールして解決します。
$sudo apt remove apache2
$sudo apt update
$sudo apt upgrade
$sudo systemctl start nginx